
Install Sanad on Wix
Needs a paid Wix plan and a connected domain.
Your Sanad line
<script defer data-cfasync="false" src="https://sanad.northrook.net/assistant/nr-assistant.js" data-endpoint="https://sanad.northrook.net/api/chat" data-key="ws_YOUR_SITE_KEY"></script>
This is an example. Your own line is in your Sanad dashboard: Settings → Installation, or open the link in our email.
Steps
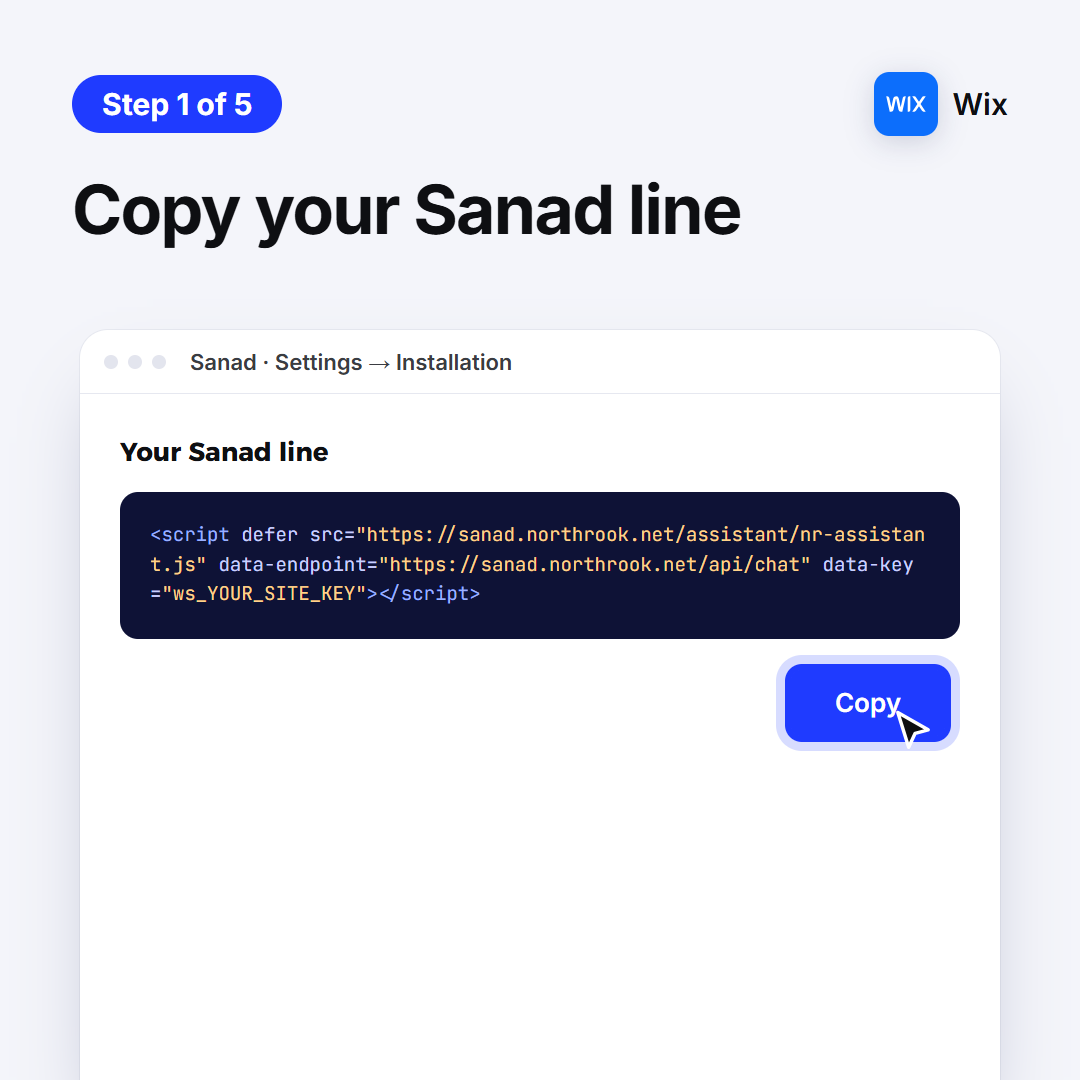
1. Copy your Sanad line
It's in this guide, and in your Sanad dashboard: Settings → Installation. Tap Copy.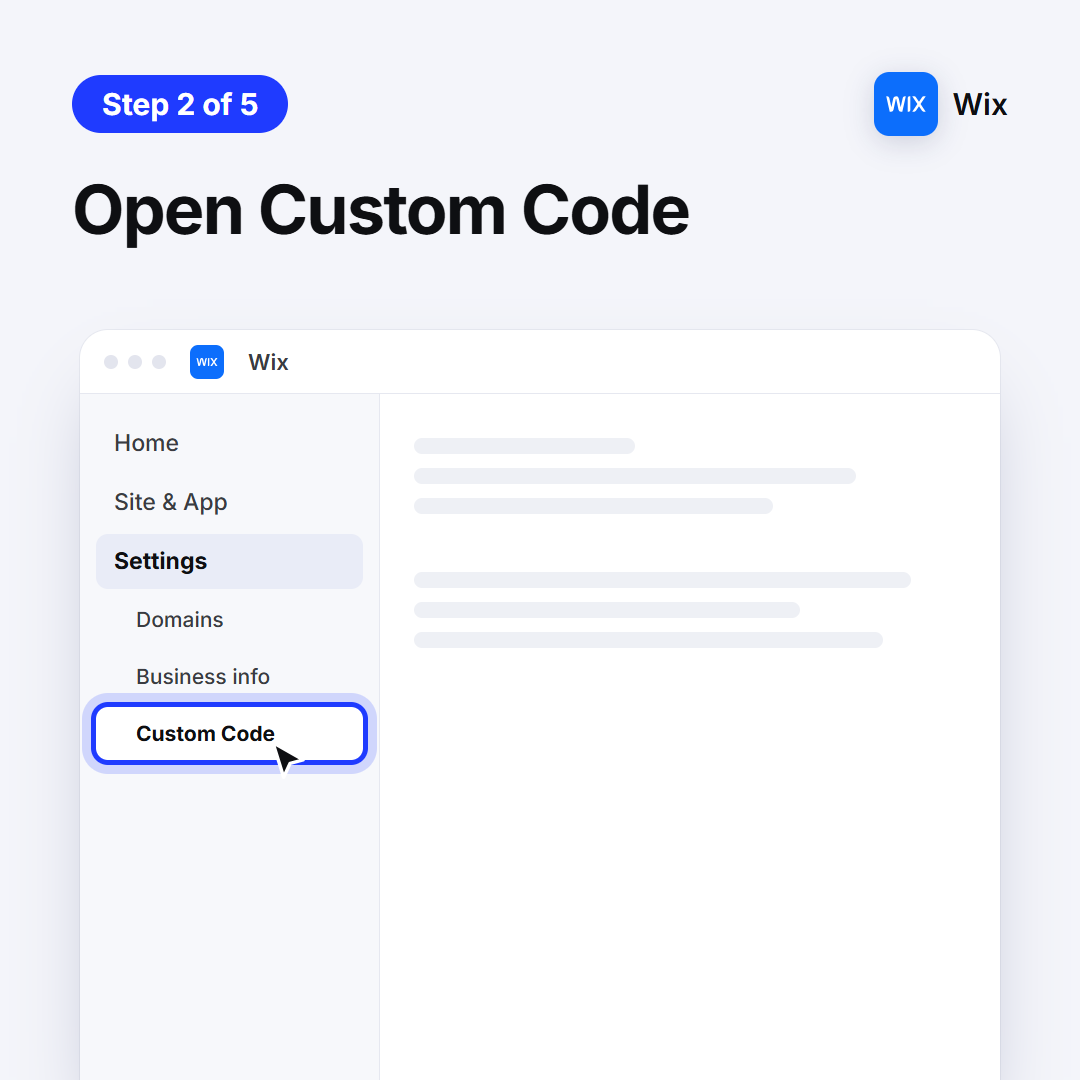
2. Open Custom Code
In your site dashboard: Settings, then under Development & integrations choose Custom Code.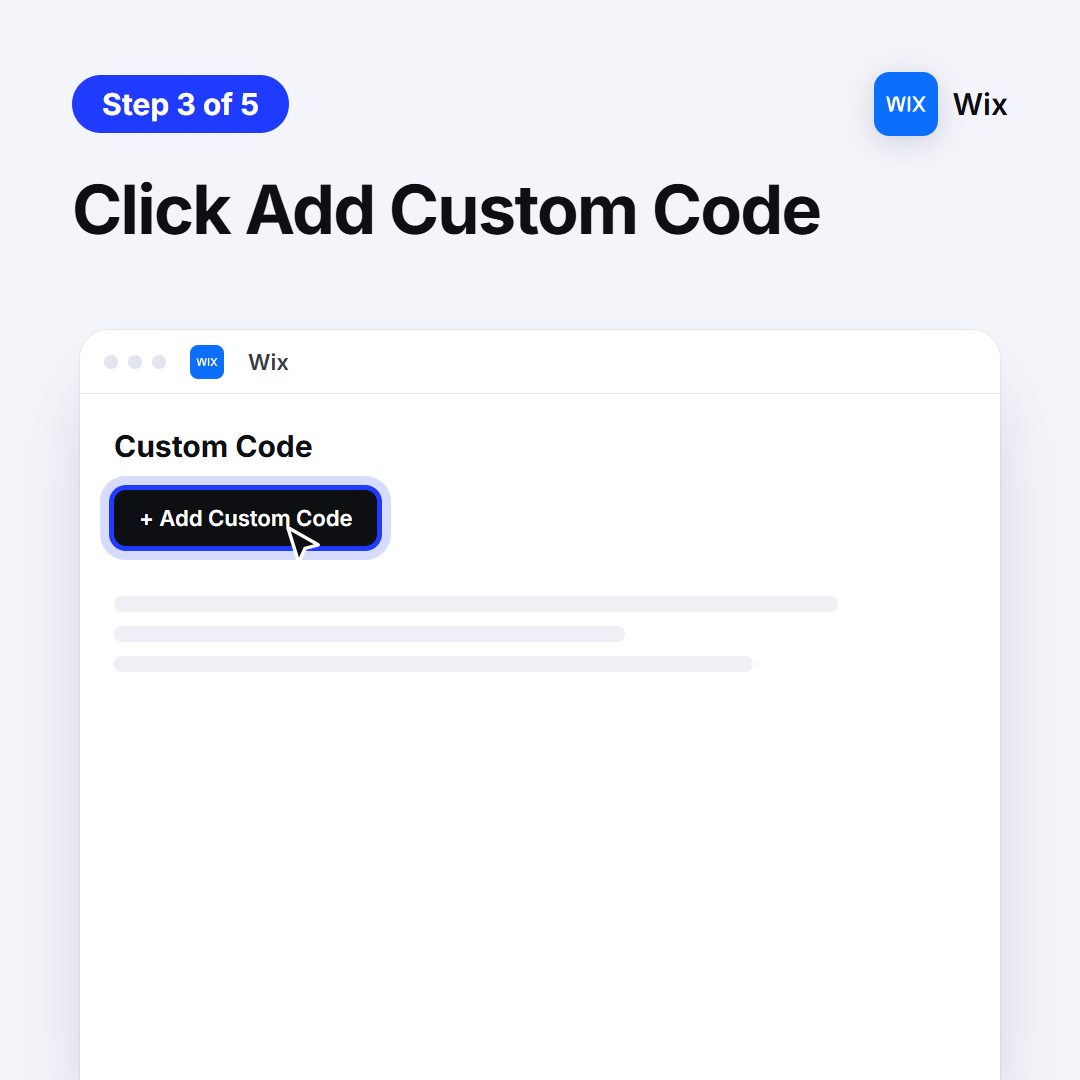
3. Click Add Custom Code
The button at the top: «+ Add Custom Code».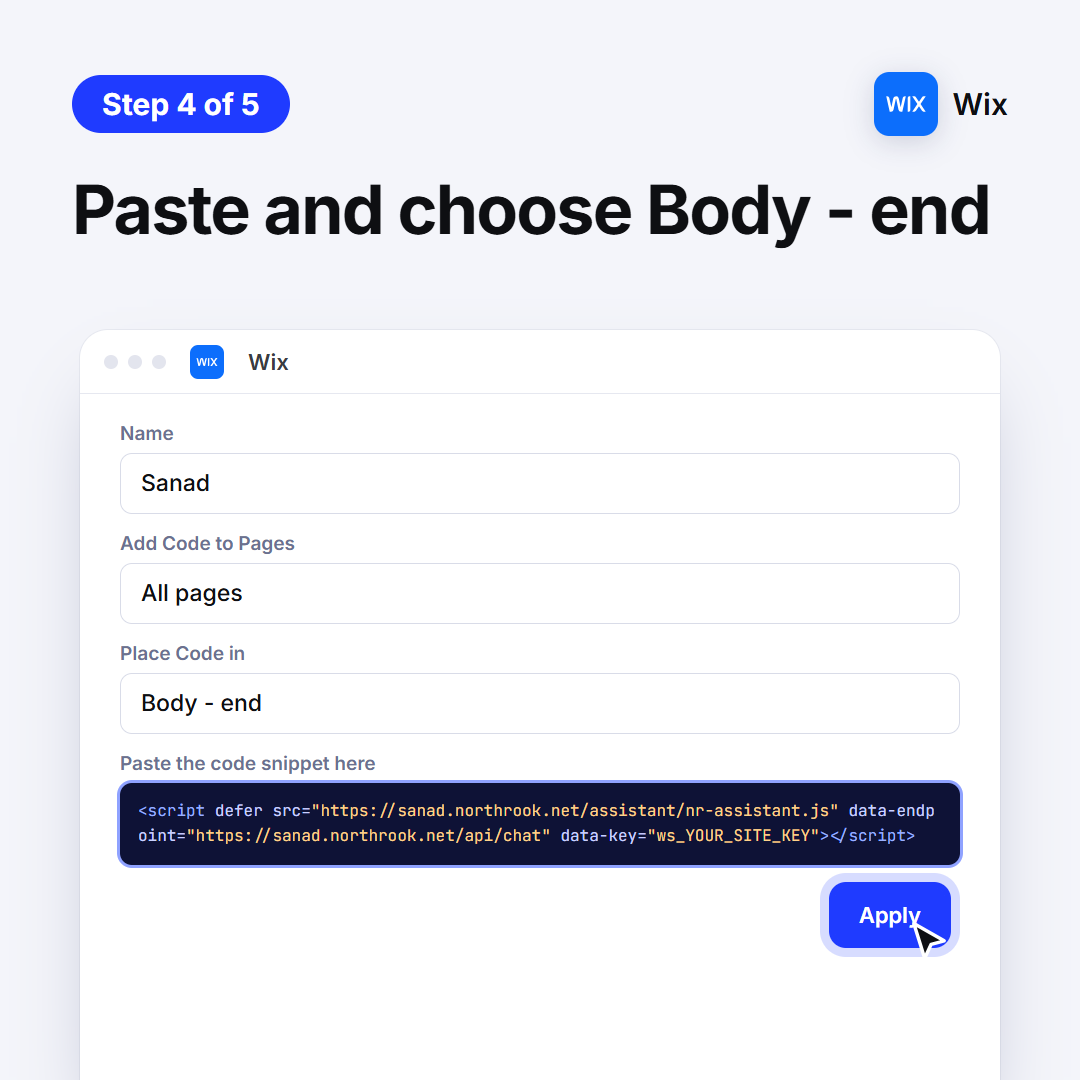
4. Paste and choose Body - end
Paste the line, name it Sanad, choose All pages and Body - end, then Apply.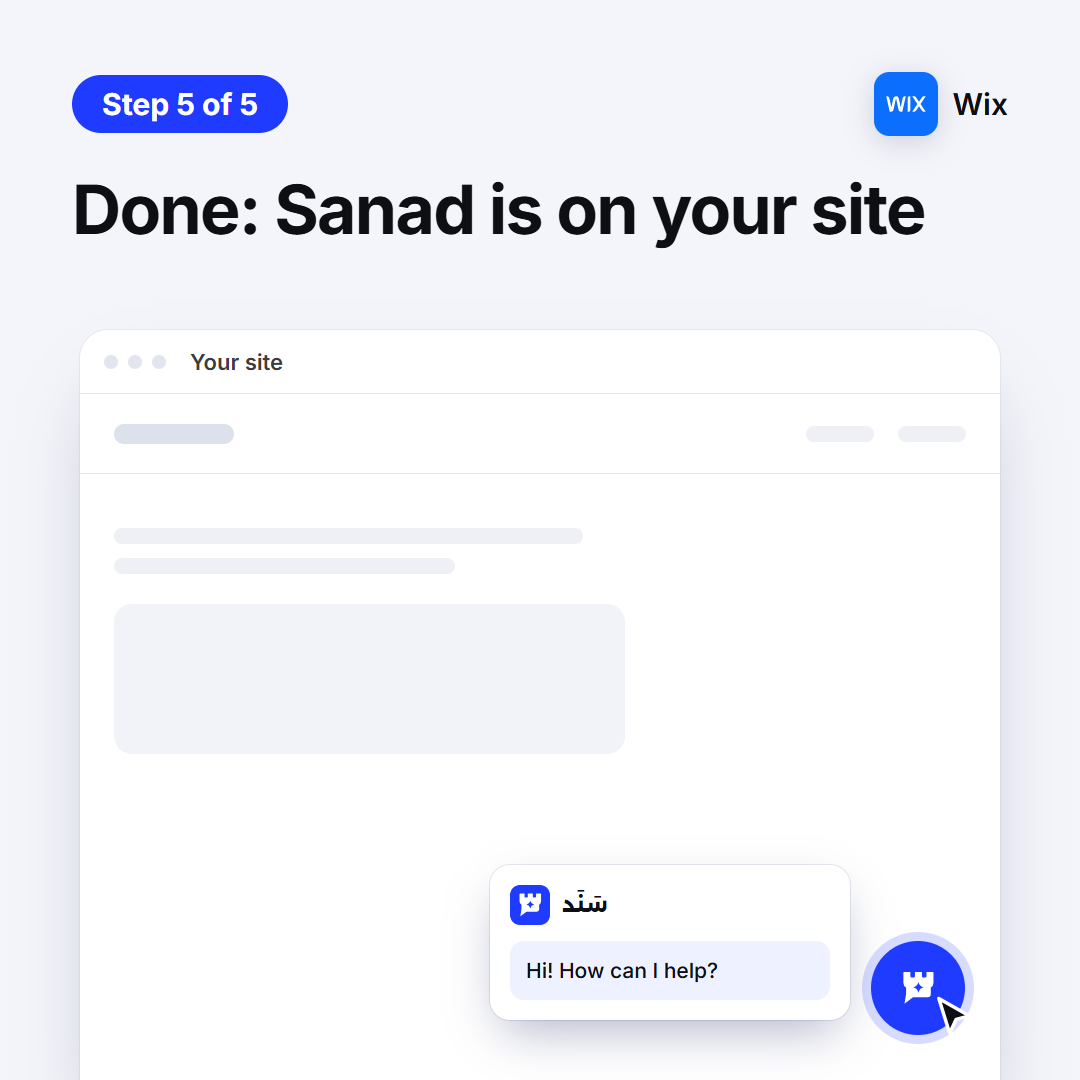
5. Done: Sanad is on your site
Open your site: the Sanad button sits in the corner. If it doesn't show within minutes, reply to our email and we'll help.
Didn't work? We'll help
Ask Sanad and it walks you through it step by step, your way. If that doesn't solve it, it passes you to technical support, or contact us directly.